
My Audio And Video Setup
A few years ago I detailed the hardware and software I use for producing my podcasts and videos. Since then, I have changed a lot, so it seemed a good time to revisit.
My last post mentioned that I had two setups for video and audio production, my “A” setup in my small office-cum-studio and my “B” setup at home. I almost exclusively use the “A” setup these days, and when I do use the “B” setup, it’s almost identical to what I detailed in the older post.
I spend a lot of time on making content, and some of the product links here are affiliate links to cover even some of the time and money I have invested. If you don’t like affiliate links, but would still like to say thanks, subscribe to my YouTube or find other ways to support me.
Hardware
Video
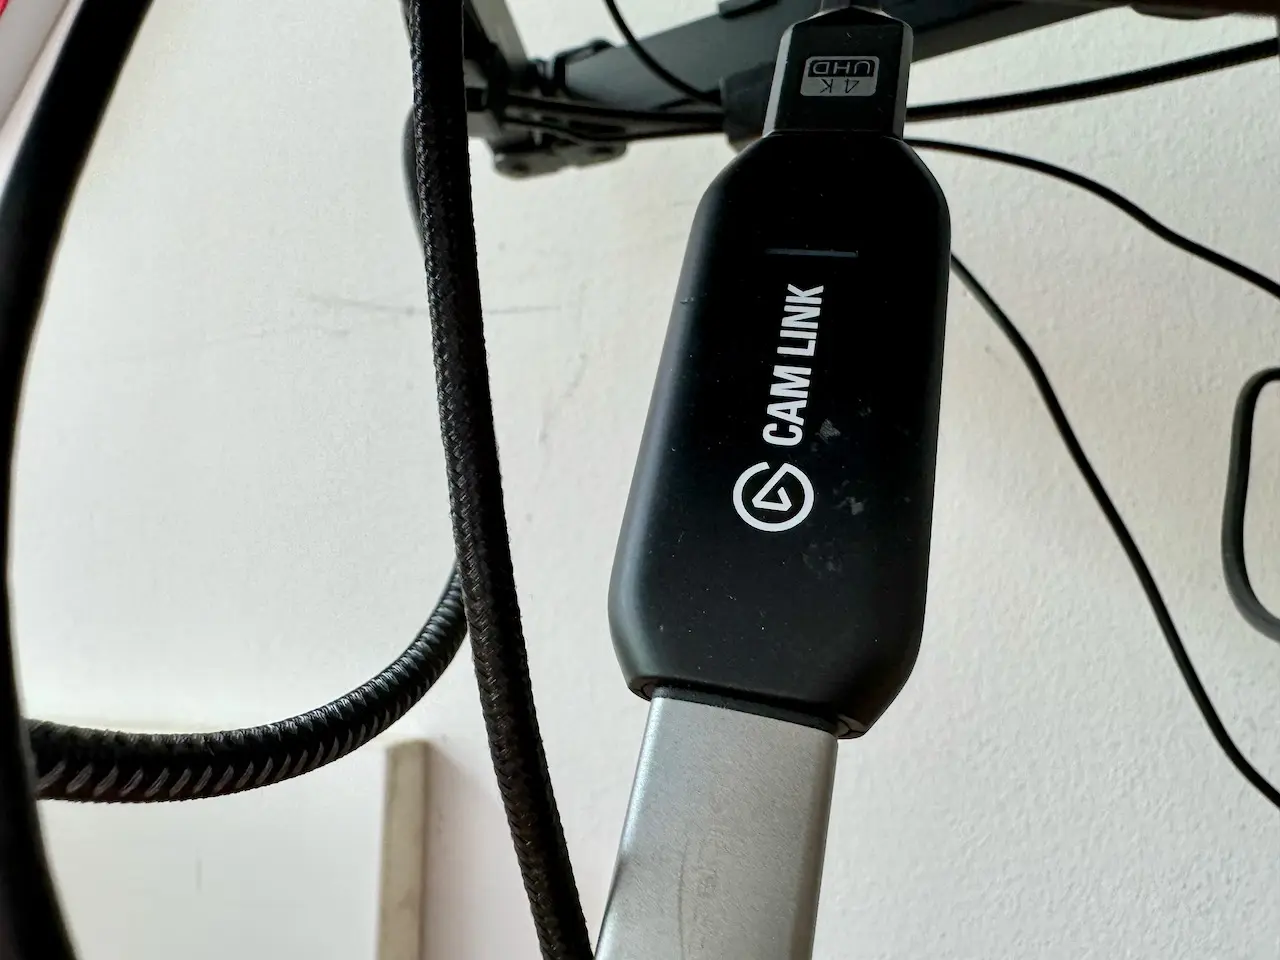
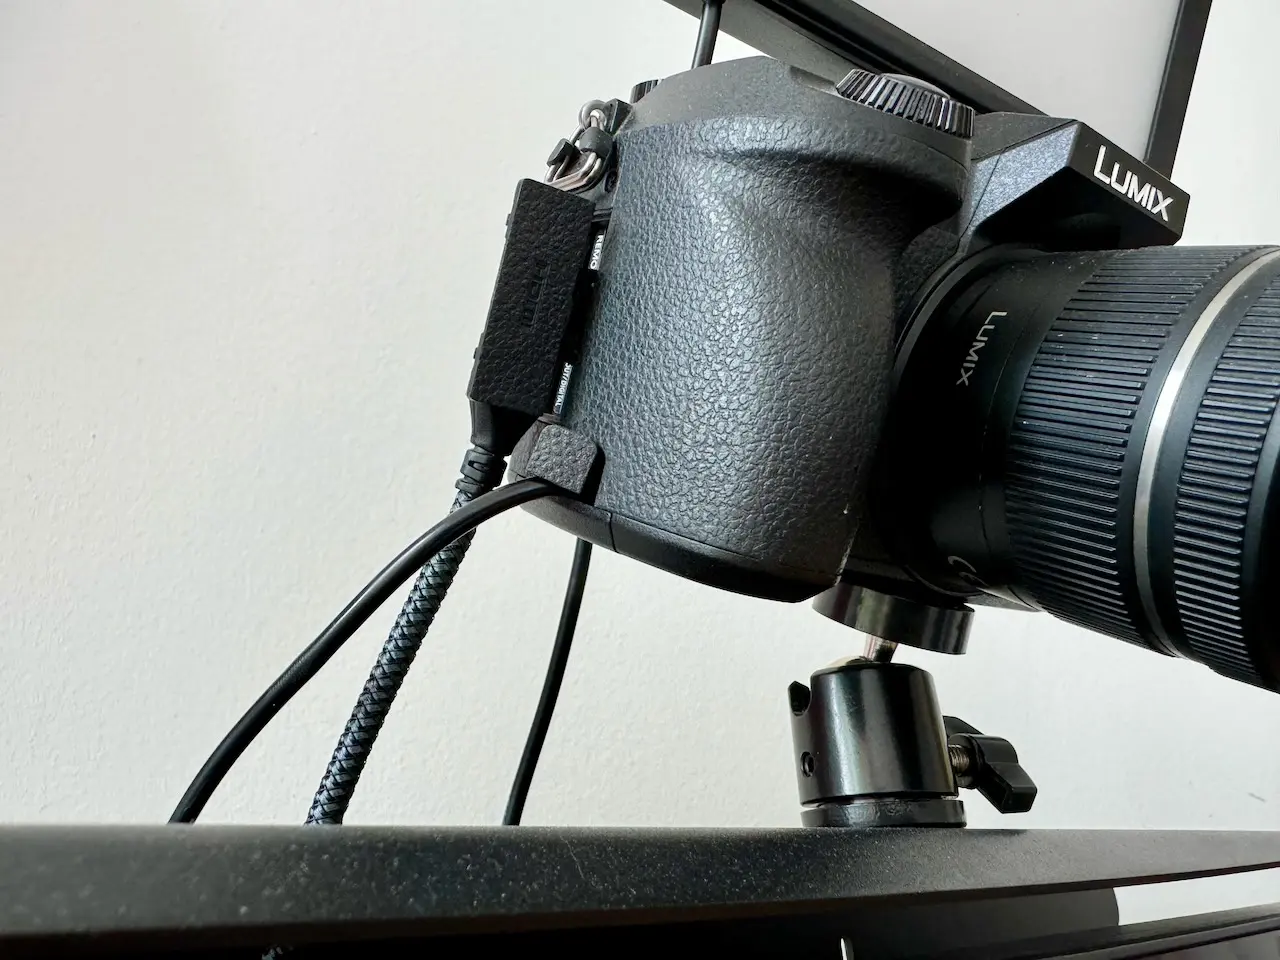
My video setup has changed quite a bit since the last post. I now have a second-hand Lumix G7 (bought from the awesome mpb.com) connected to an Elgato Cam Link 4k. Getting used to using a “proper” camera and optimising the correct settings for capture has and is still taking me some time. I think the last time I had such a device was a Nikon D90 a long time ago.
Almost immediately I realised I needed what’s called a “dummy battery” so you can plug the camera into power instead of running it on battery. Which you need depends on the camera, but this is one for my G7.
If you’re interested in knowing the camera settings, let me know.
Audio
Microphones
Until last year, I exclusively used a Blue yeti (now owned by Logitech), which has been serving me diligently for nearly eight years. However, I changed that several times recently for two reasons.
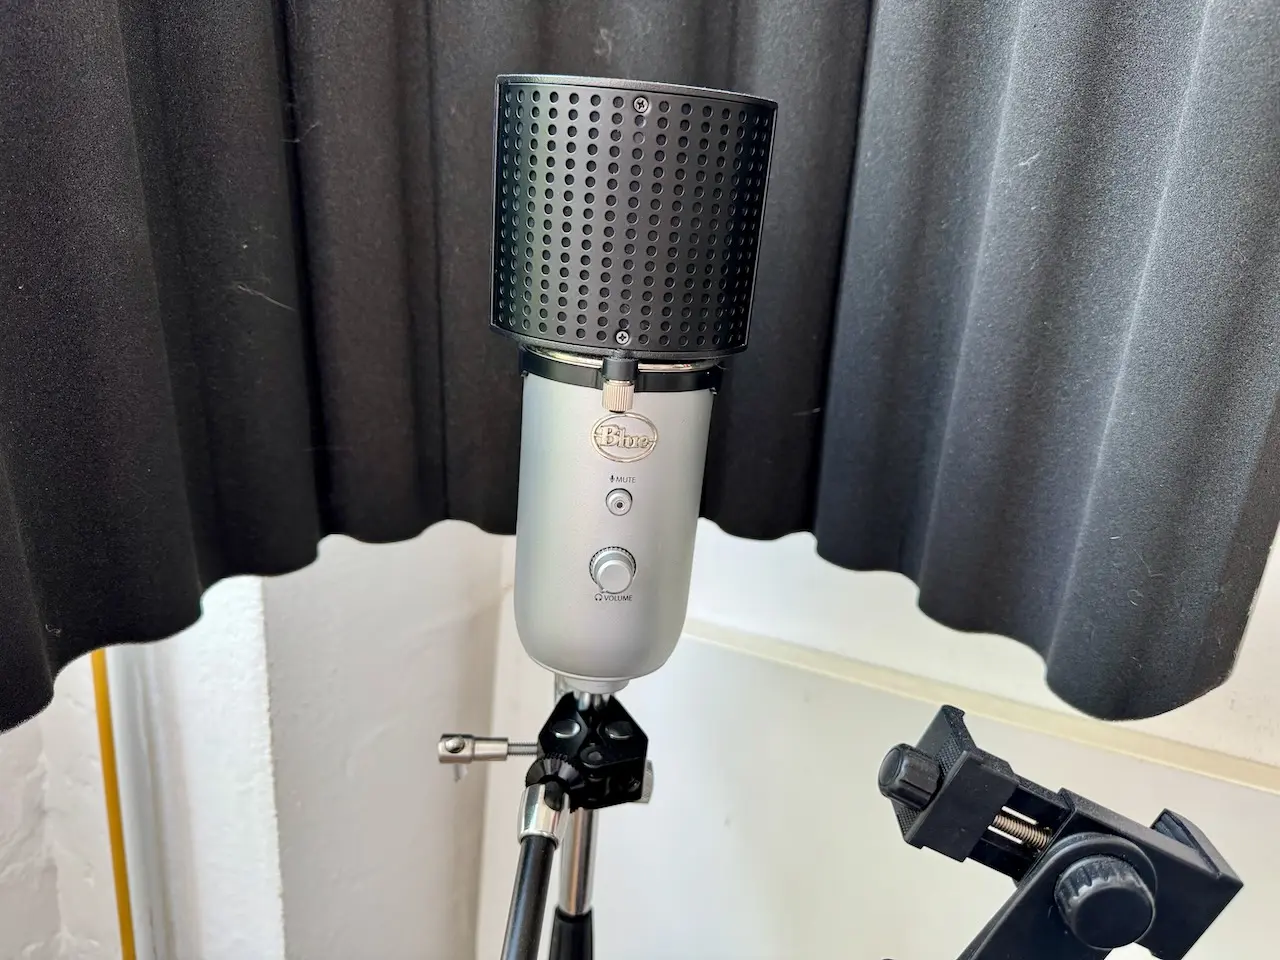
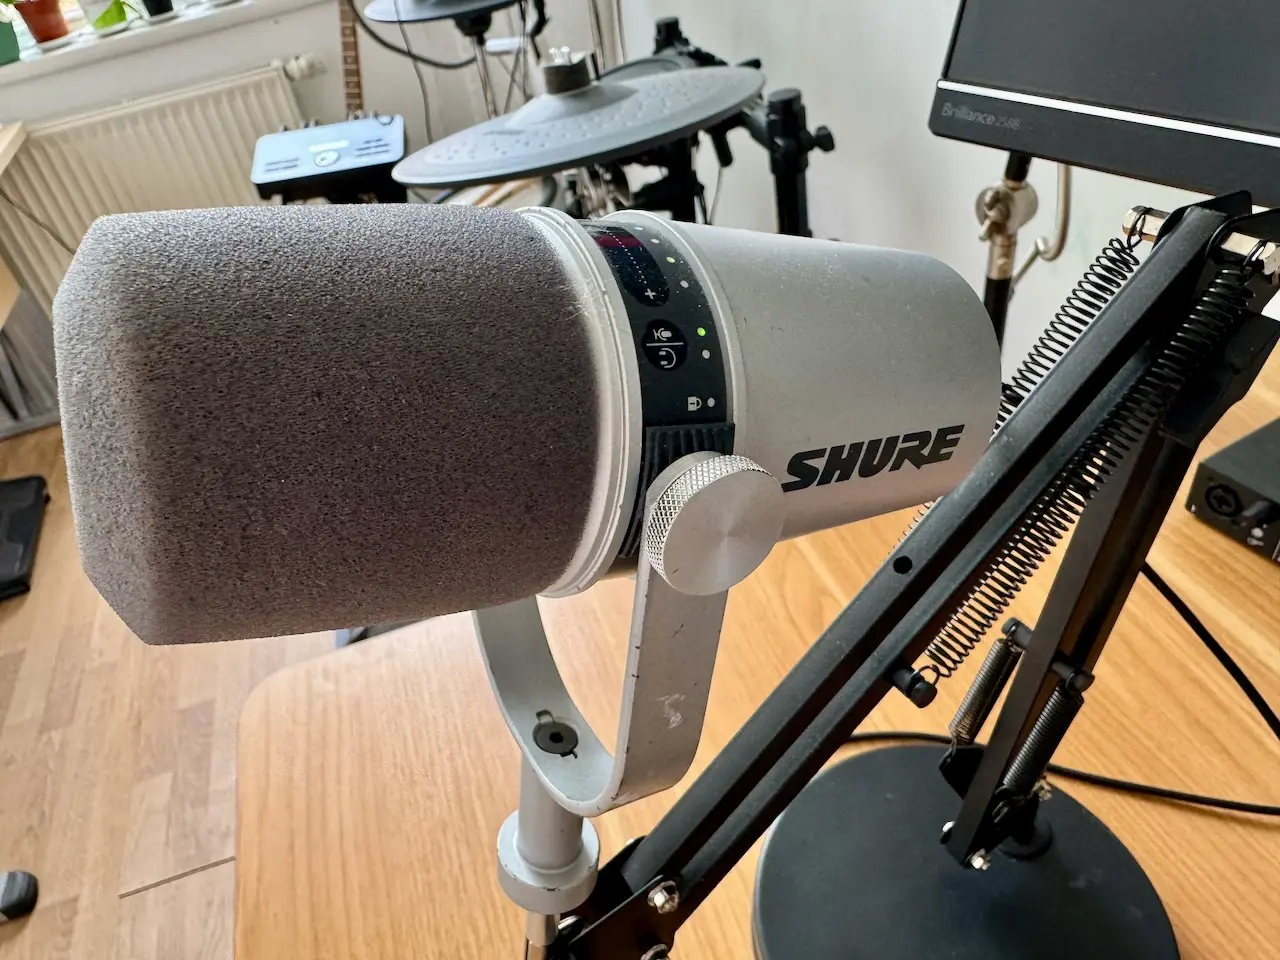
I was looking for a mic that was less in my face for video work than the Yeti, and attempting to position it without doing that has been an endless task. So, I thought it was time to invest in a mic that sits more out of the way for video work and points upwards to your mouth. I was also interested in a mic that accepted XLR input if I ever wanted to take it into a more traditional studio and use it with a mixer.
I also wanted to create a separate, more isolated audio area for pure voice work, such as voiceovers and spoken word pieces, and the Yeti is more suited to that.
There are a handful of mics that meet all these requirements, and I initially looked at the Shure MV7. However, it’s a bit expensive, and I settled on the t.bone MB 7 Beta, one of Thomann’s many microphones that are fairly obvious copies of existing models. It’s more than half the price but ships with a copy of Cubase LE (which I actually needed to resurrect some ancient Cubase projects). I found it needs a bit of a volume boost when using USB, but it was fine for my needs.
Was? Yup. I used it mostly happily for a few months, even tracking down the only European distributer of the small barrel-style pop shields you see on a lot of YouTube videos. Actually the company is based in the UK, so no longer ships to the EU and I had to wait until a trip to collect it from a friend. I digress. Berlin had a fantastic bricks and mortar music store called “Just Music” and they finally shut their five floor haven of music nerdiness in March. This meant they had some epic clearance sales and I acquired an ex-demo Shure MV7 that I now use, relegating the MB 7 (and it’s expensive pop shield) to tasks yet unknown. Much like my camera, I am still investigating the right settings for the Shure, using USB vs XLR, etc etc.
There are two more microphones I use that deserve mention. The one(s) I use for capturing interviews on the road. I have been through several of these in the past few years. My changes were born of requirements for something that is reasonable quality, easy to use for non-experienced interviewees, and easy to take on European budget airline carry-on.
For most of the past few years, I used an iRig Mic HD 2 and am still happy with it. However, I wanted separate microphones (and thus recordings) for myself and the interviewee, ideally without needing large external recording devices that would then break my baggage requirement. I spent some time looking for something suitable, including many trips to the clearance sale at Just Music to see if they had what I was looking for.
I don’t even remember how I came across it, but I ended up with the Neweer CM 28, a curious device that sparks plenty of conversation when I use it, which is an unexpected bonus to warm up interviewees. It consists of two small lavaliar-style mics, a receiver, and a case which is also a battery. Each mic can store 2GB of audio, and the default format is WAV, so the quality is reasonable if a little hollow-sounding. My only issue so far has been that the mics date stamp each file with the start of Unix time (January 1st, 1970), making it hard to match files to interview when it comes to editing later.
Audio interfaces
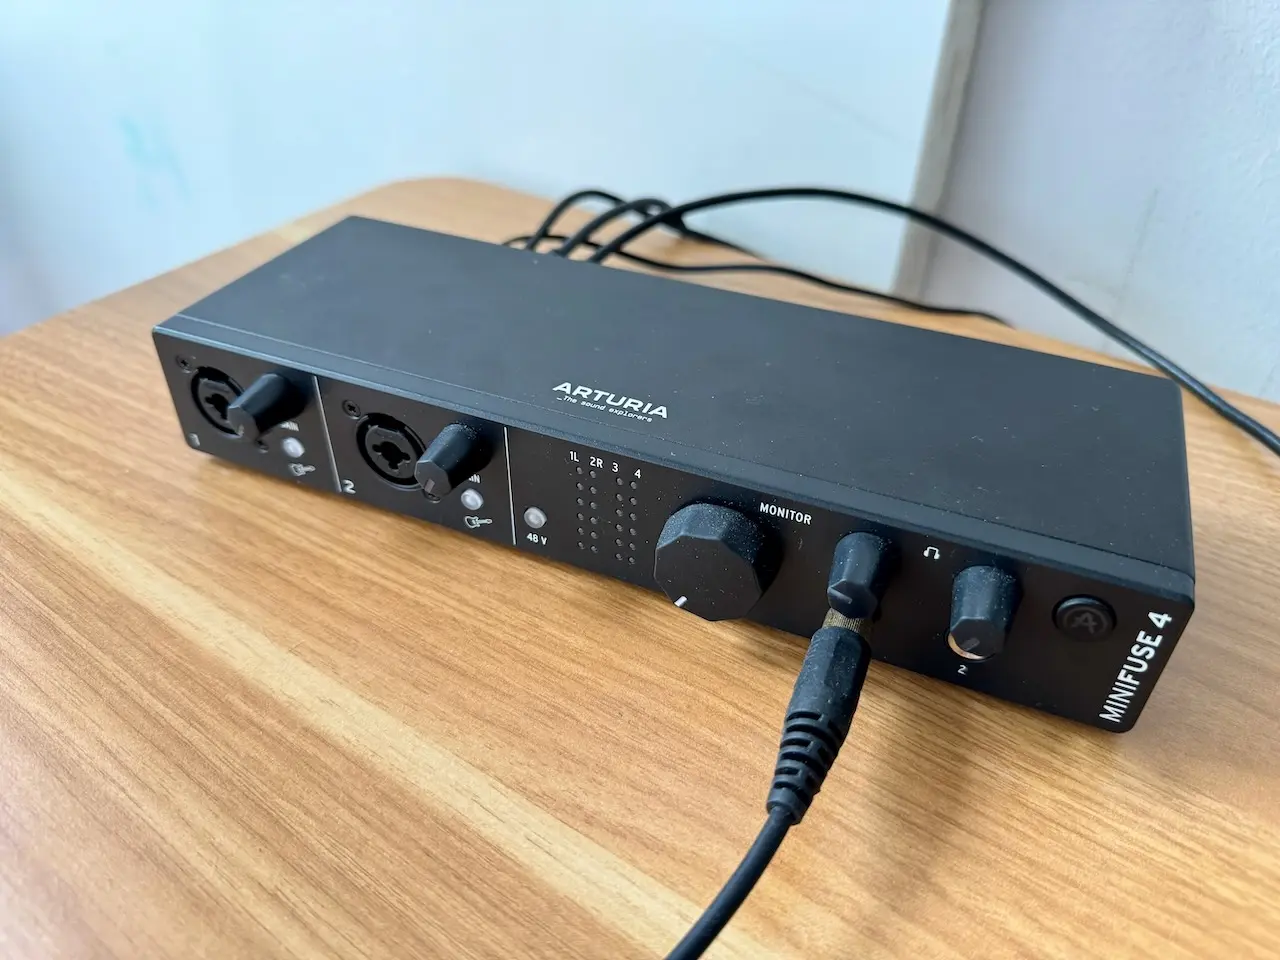
On the subject of audio and USB, for the times when I need to connect analogue inputs, I have an Arturia Minifuse 4, but I will save discussions on that for future post on my music set-up.
Lighting
My lighting hardware has changed slightly. I still have the Neweer LED lights, but I have moved them around many times to try and get a better lighting situation. As they are fairly flexible and use standard camera mounts, I currently have one on top of the G7 and another on the pole inside one of my VESA mounts.
After switching a lot of lighting at home to Shelly bulbs, I had two LifX smart bulbs available, so I decided to bring those into my setup for more flexible lighting. I haven’t quite figured out how to use them optimally as they are not really strong enough to make much impact.
My biggest issue with lighting is that I have a large window overlooking the Spree River, which provides wonderful, uncontrollable lighting throughout the year. I recently bought a new desk and moved it more into the middle of the room to see if it helps, but it’s too soon to tell the effect yet.
I know I should install blinds of some description, but it’s a lot of work, and it’s a shared space, so I am still struggling with compromise for now, especially when using a green screen, which I have yet to really get to work properly.
Other hardware
I have a couple of other bits and pieces around the core hardware that don’t completely fit into any other category.
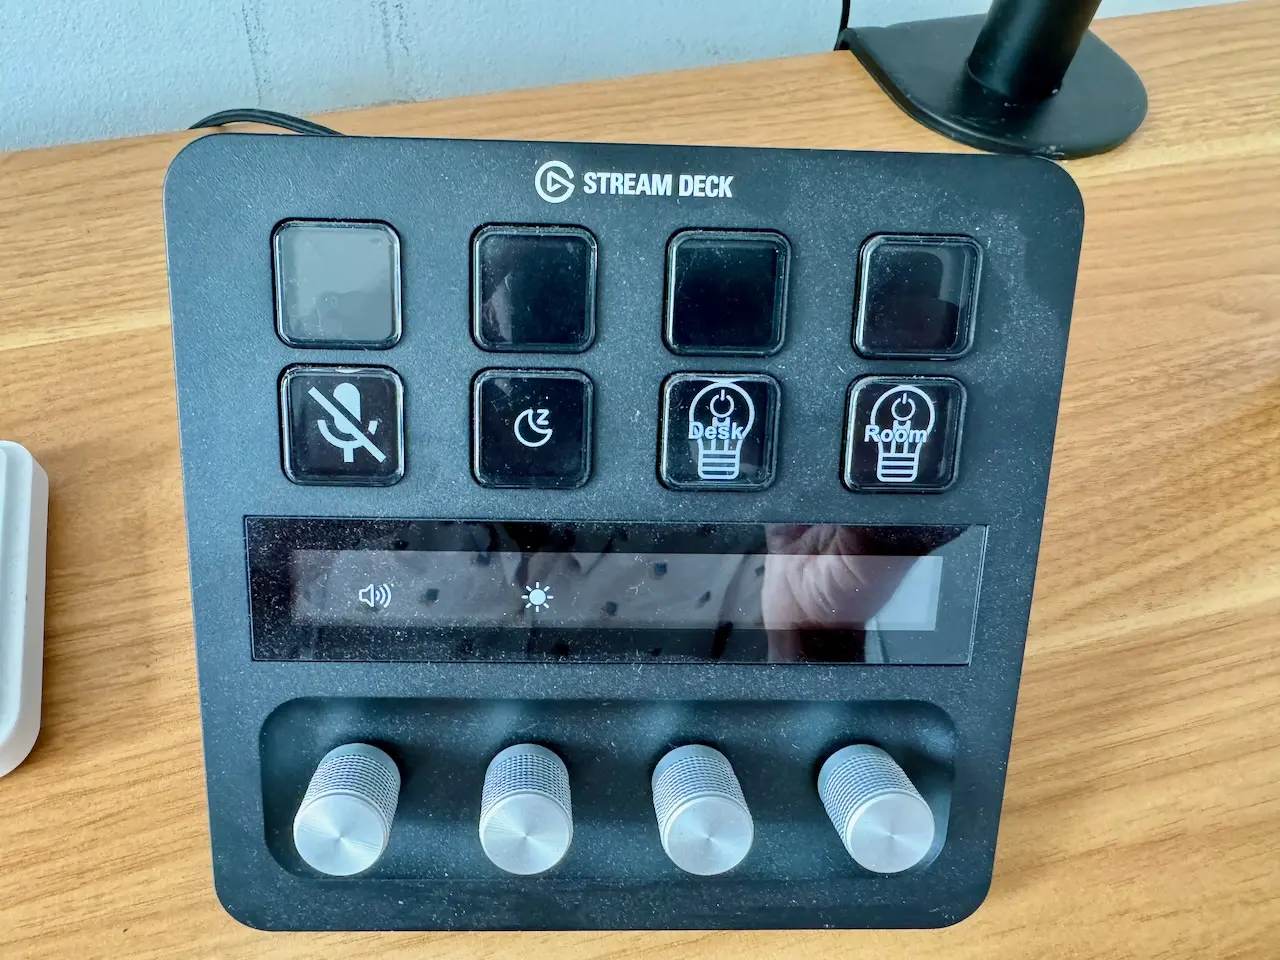
An Elgato stream deck plus. Even though I have owned a mini for a while (which moved to my B setup), I am only slowly starting to realise their full potential, especially with the dials on the plus, which are not fully supported in many plugins yet.
My strategy over the past few months has been to maintain a list of regularly performed tasks that could be streamlined and figure out the best hardware and software to streamline them. [[That is definitely a future post]].
I have an Elgato green screen, but my aforementioned lighting situation has made it challenging to get it to work well.
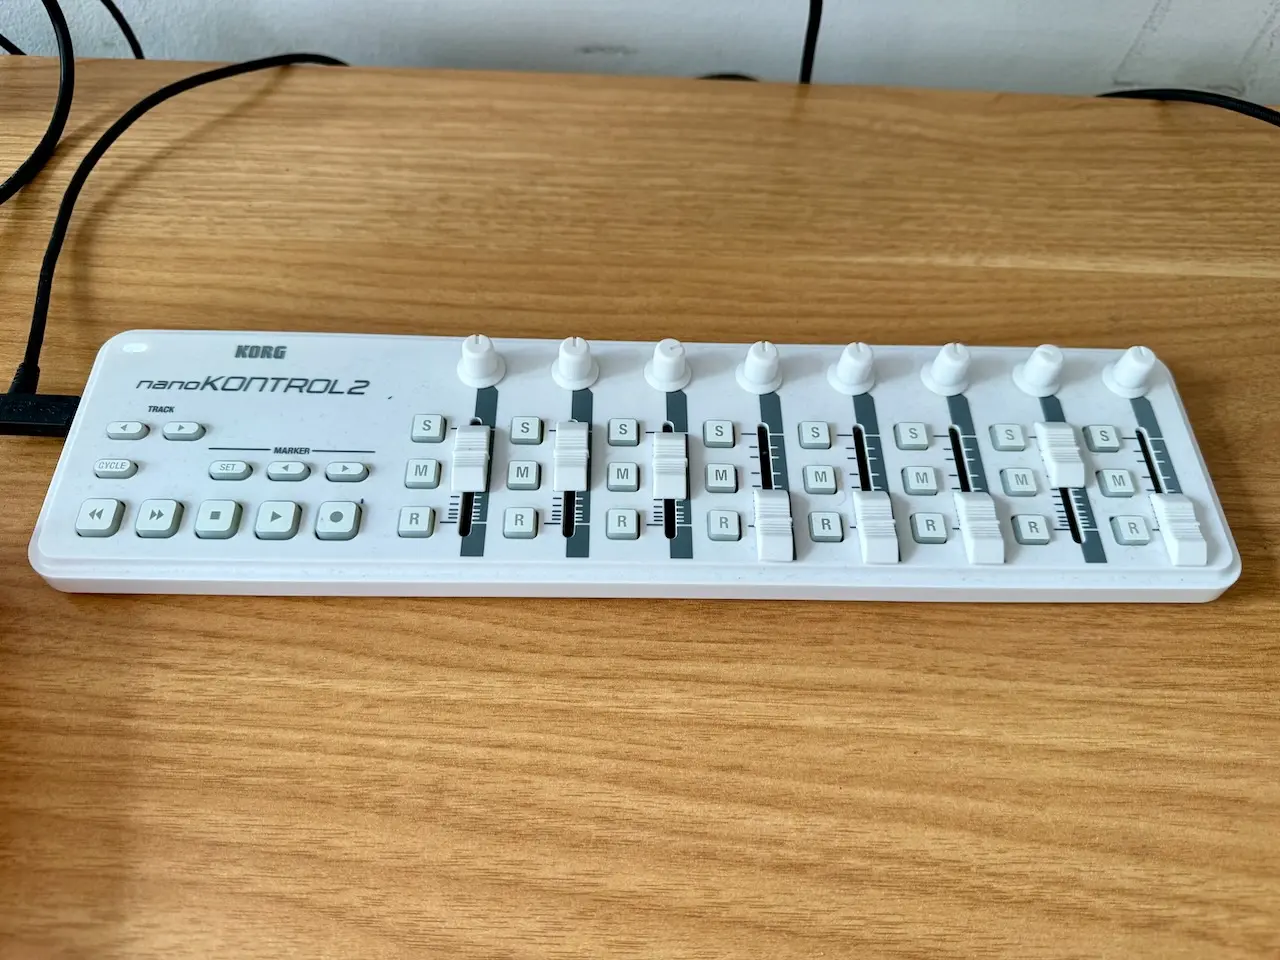
Exclusively for editing, I have a Korg nanoKontrol2 because I am old and like the feeling of pushing sliders and twiddling knobs. It supports different control modes, which makes it work with almost any application, but it means you have to note or write down a handful of keyboard combinations to switch between those modes in different applications. Combined with the stream deck, this gives a lot of possibilities and flexibility.
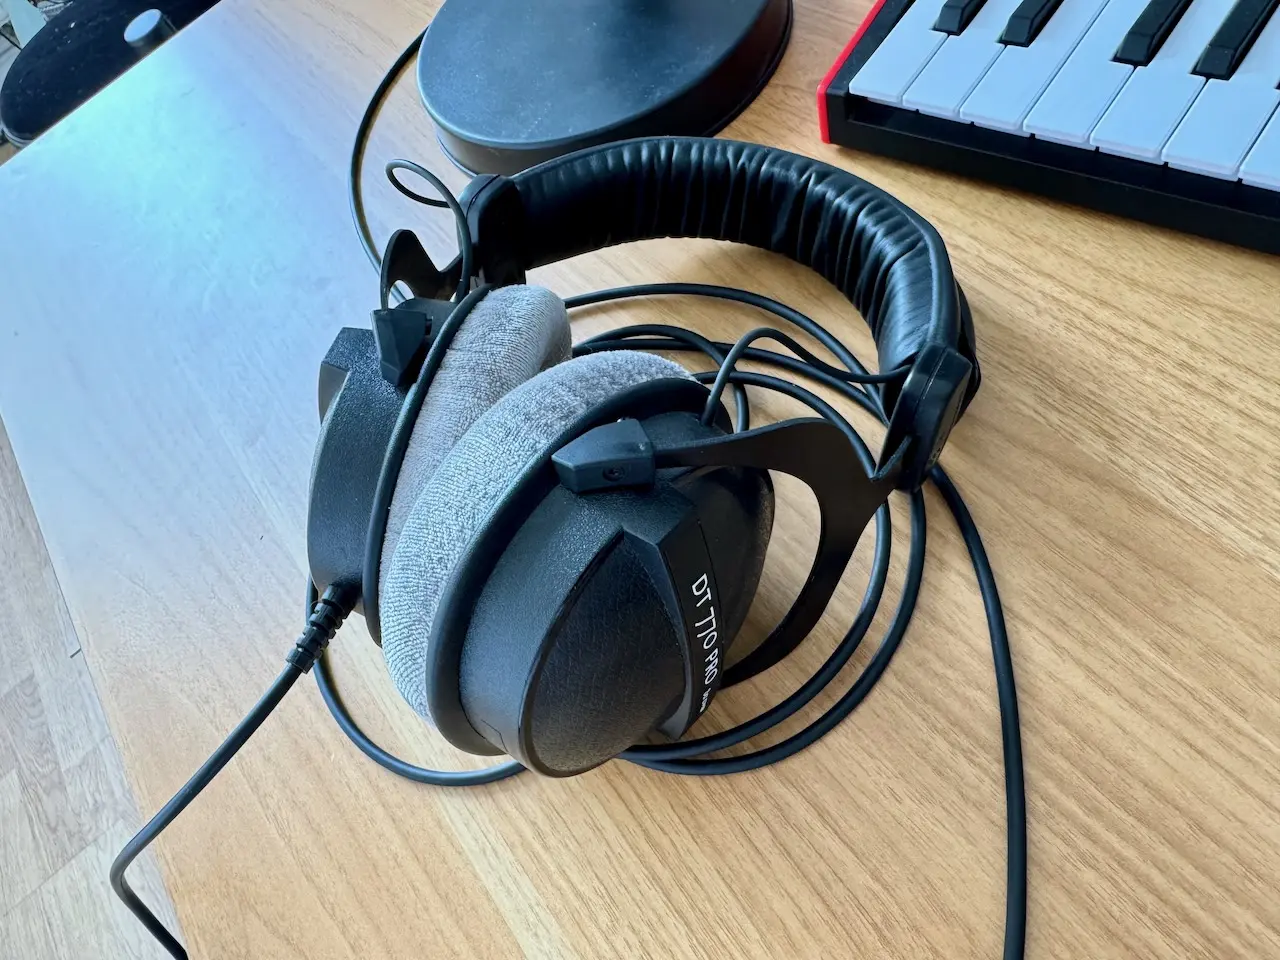
Through various twists of fate, sales, and second-hand deals, I also have far too many headphones. But my now-favourite pair for editing work is the classic DT 770 Pro. They are big, cable-only, and incredibly comfortable, especially for glasses wearers.
I love VESA mounts as they get a lot of this gear out of the way and have two double VESA monitor stands. I’ll cover more details on those in another more general setup post, but my latest purchase, this camera shelf, is relevant, and I love it.

Those major items aside, I have a bunch of arms, brackets, cables, widgets, and wotsits that support and hold things together. Endless amounts of them, yet I still never have that exact item I’m looking for 😅.
Software
Preparation
I am trying to storyboard at least my edited videos more before I jump into recording, and for that, I have been experimenting with Storyboarder. However, I am still not fully in that process. Most of the time, I write a blog post that forms a loose script outline. For videos, I don’t tend to follow a script too much, but for spoken word and voiceover work, I do, and I use Prompsmart.
Recording
My recording software has changed to using OBS for all most all tasks, as opposed to sometimes using Quicktime player for higher quality video as outlined in my older post.
This change came with newer versions of OBS that supported recording natively into ProRes formats on Apple Silicon machines. This meant I no longer had to use Quicktime to access higher-quality, uncompressed formats. OBS now gives more control over the codec settings, meaning you can balance quality over file size to your heart’s content and without digging into FFmpeg settings too much.
When I record, I mostly use OBS as a simple two-scene switcher, one for face-to-camera and one for screen sharing. I don’t add any filters or effects, as I add those in editing for recorded videos. I use Prores 422 LT for the codec, as my video work is not complex enough to need anything higher in terms of quality, but I like having uncompressed footage to edit with. OBS settings are a topic unto themselves, so guess what? That will be a future post 😁.
Whilst recording I use two other small applications. Keycastr for showing my keypresses. Presentify (also on Setapp) for highlighting my mouse and annotating the screen.
Editing
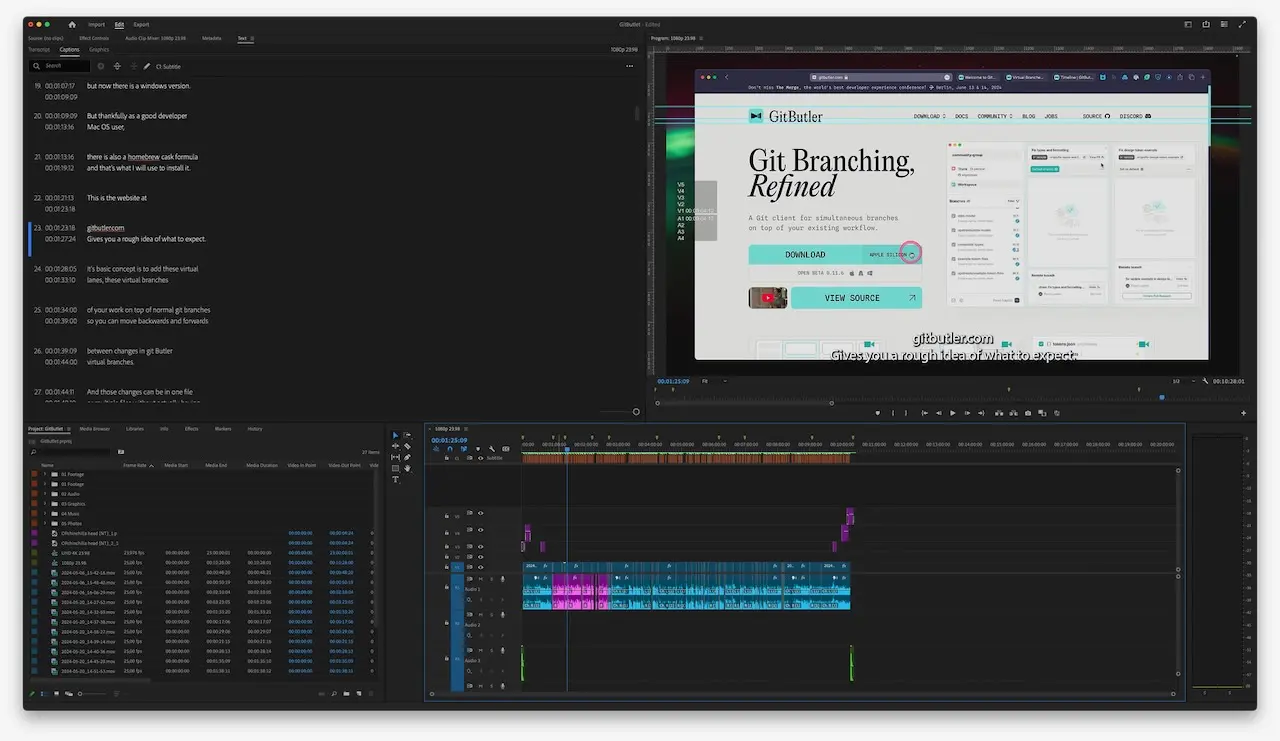
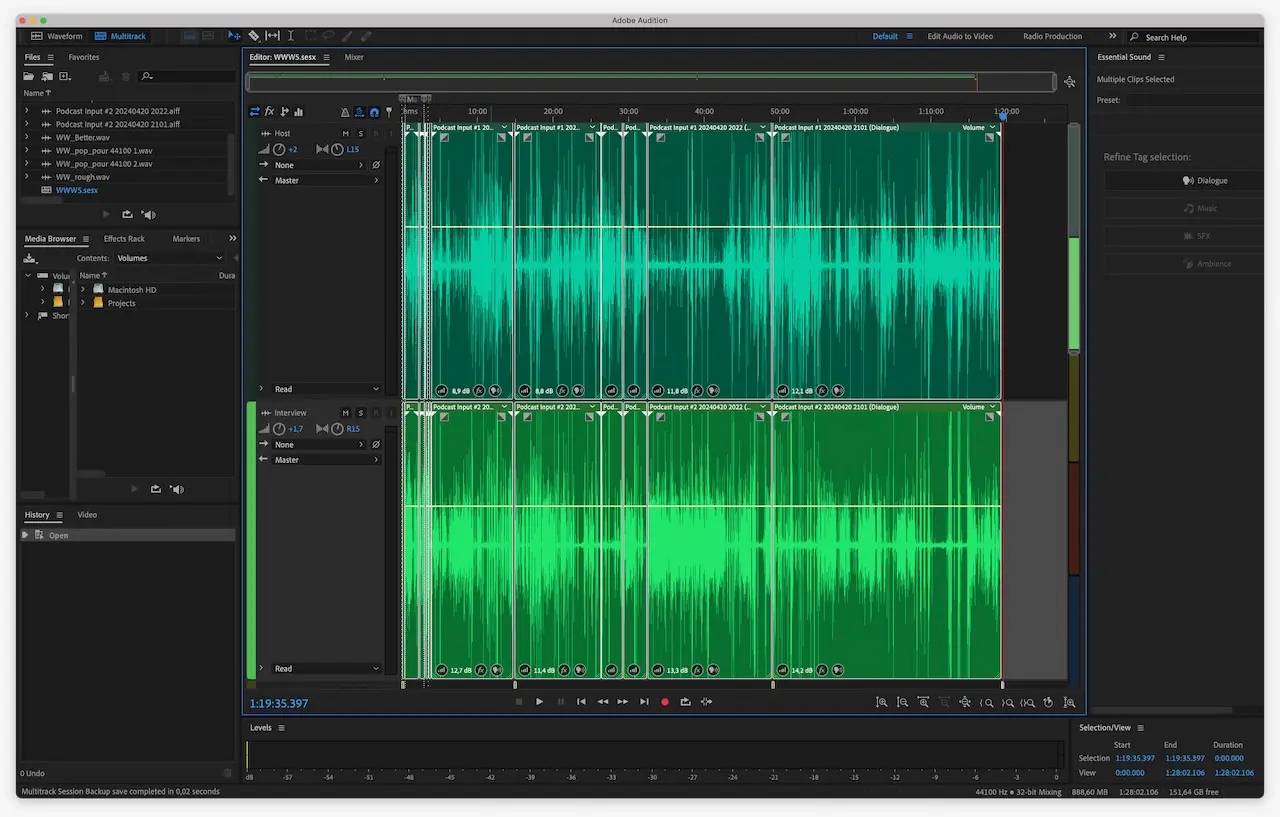
I still edit most of my audio and video with Adobe Premiere and Audition. Not much has changed there. However, I have been using some of the newer features, such as essential graphics and sound for quick effects and processing. Premiere also has some excellent new text-based editing features that have significantly improved my productivity.
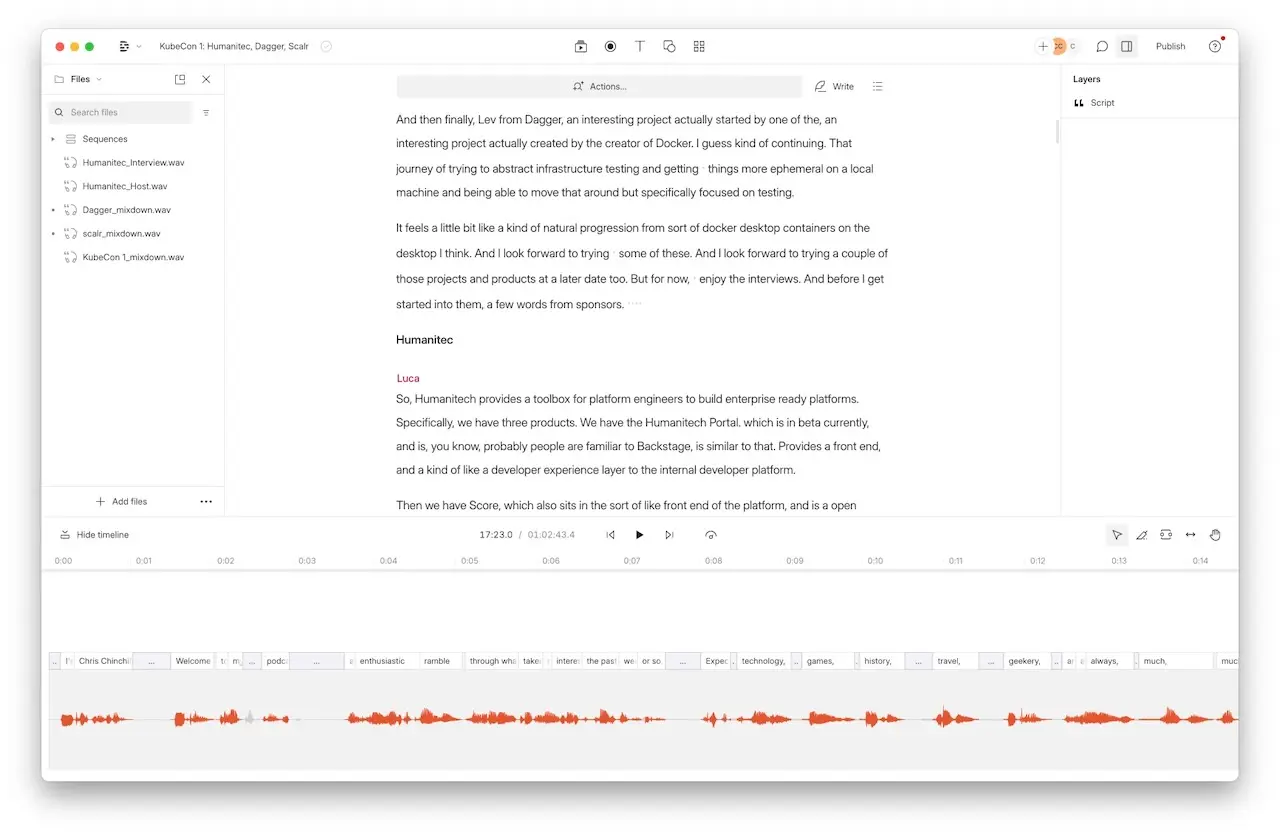
On top of this, I now use Descript for final editing of my podcasts, as it generates a static and interactive transcript. I will start experimenting with using Descript for videos soon.
I have been trying to build libraries of assets for text and graphics overlays while I edit, but the way Creative Cloud applications save and sync different styles and assets into synced libraries remains confusing, to say the least. But I will keep pursuing it, as my current workflow (embarrassingly, copying and pasting previous overlays from older videos 😬) is problematic.
I try to use my ageing Wacom medium (I don’t think my model exists anymore, but this is the current closest one) as much as possible for editing, but honestly, I forget about it a lot of the time, and as I’d prefer to use it wirelessly, I frequently find that the battery is flat and end up sticking to my mouse, a fabulous Logitech MX master 3s for Mac. I struggled happily with Apple magic mice for years until I started using this beauty.
Distribution
For long-form videos, I exclusively publish to YouTube, exporting and uploading in the same ProRes 422 LT codec I use during editing. Again, this might be overkill, but YouTube can handle it, and I feel it gives a good starting point for creating the quality versions YouTube rolls out across its platforms.
I am still experimenting with shorts on YouTube, Instagram, and TikTok. Generally exporting to the highest quality MP4 the platform allows. I’m yet to crack the shorts formula or even figure out if I think it’s worth it. Sure, I can get higher views on a video about a cat, but it doesn’t really bring in the audience I’m looking for. I am currently trying shorts of me reading my flash fiction, but the results have been mixed. I find them fun to make, so I will keep persevering.
When using text-based editing in Premiere, you can take the transcript and generate captions. I export and add those alongside the video and chapters exported from Premiere’s markers using Jeff Greenberg’s Google Sheets method.
Finally, I add a thumbnail. I am trying to avoid “YouTube face” and instead use AI-generated Chinchilla thumbnails. I won’t pretend the experiment has been successful yet, but I am determined to make it work and not add to the flood of people pulling stupid faces on YouTube. Tools-wise, I was using Midjourney, but I am now using Firefly in Adobe Photoshop instead, as I am already paying for it, so I might as well. I then plug that image into a PSD file, export it, and upload it.